You read that correctly. I smoked a brisket on a standard sized Weber kettle grill yesterday and it turned out awesome. Don’t get me wrong it was a lot of work for a scorching hot first Sunday in June, but it was worth it. Read on to find out how to apply this method to similar sizes or styles of grill.
But first…
I got some good brisket advice from my brother-in-law, who is a successful BBQ Blogger. Make sure to Check out Griffin’s Grub to learn some awesome recipes, tips, and tricks.
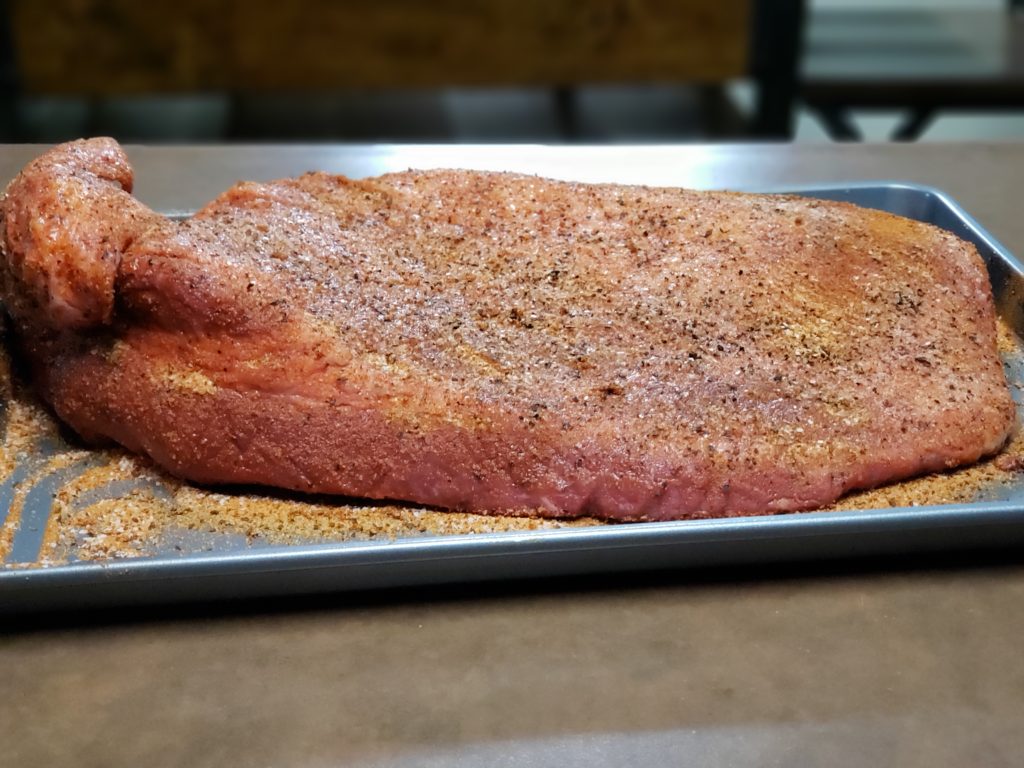
Make sure to rub it down thoroughly
Prepping the Brisket
What you’ll need:
1 brisket (trimmed) 7-10 lbs.
Kosher salt
Black pepper
Olive oil
Pour a generous amount of the brisket rub into a small bowl, then add 2-3 tablespoons of kosher salt and 1-2 tablespoons of black pepper. Mix this all together and you’ve got the rub I used. I like the taste of the brisket rub alone, but it didn’t have enough of the salt & pepper flavor that you typically get on briskets done in the Lone Star state.

Set a large cookie/baking sheet on the counter, and sprinkle a bit of the rub on this. Set your brisket out on the large cookie sheet (plastic or wrapping removed) and rub both sides with a couple of tablespoons worth of olive oil. This is just to help the rub stick. Next cover both sides generously with your brisket rub and massage it in, making sure to get all the folds and crevices. Once the brisket it completely rubbed it’s ready for smoke.
Prepping the Grill
What you’ll need:
Charcoal briquettes
Wood chunks (this is South Texas, we use mesquite)
A charcoal cage or some way of keeping your heat source contained to one side of the grill

There’s really two keys to fire management when smoking on this type of pit. The first is containing the fire using a cage or some sort of grill add in. And the second key is airflow. I left my bottom vent WIDE open the entire day, then regulated grill temp using the vent on the kettle lid. Sometimes this consisted of simply opening or closing the vent, while other times I rotated the entire lid so that the vent was either directly above my fire or offset.
Get your fire cage full of charcoal and wood chunks burning/smoking by lighting only one side of the cage, then use tongs or something long to position your heat source off on one side of the grill. The rest of the cage will smoke and catch fire at a slow rate this way, allowing the grill and the brisket to heat up gradually. It’s a marathon not a sprint.
Put an aluminum pan (as large as you can fit) in the empty space opposite the fire. Fill the pan with a couple of inches of water. The water will slowly evaporate and help keep the brisket moist, while the pan doubles as a method for catching drippings.
Into the Smoke
What you’ll need:
A meat thermometer.
After your fire is going you’re good to go. Set the brisket on the side of the grill that is OPPOSITE the heat source. THE FAT SIDE Should be up. Stick your thermometer into the middle of one of the thicker sections and run the wire out onto a nearby table or somewhere that you can check the temp without having to open the lid.
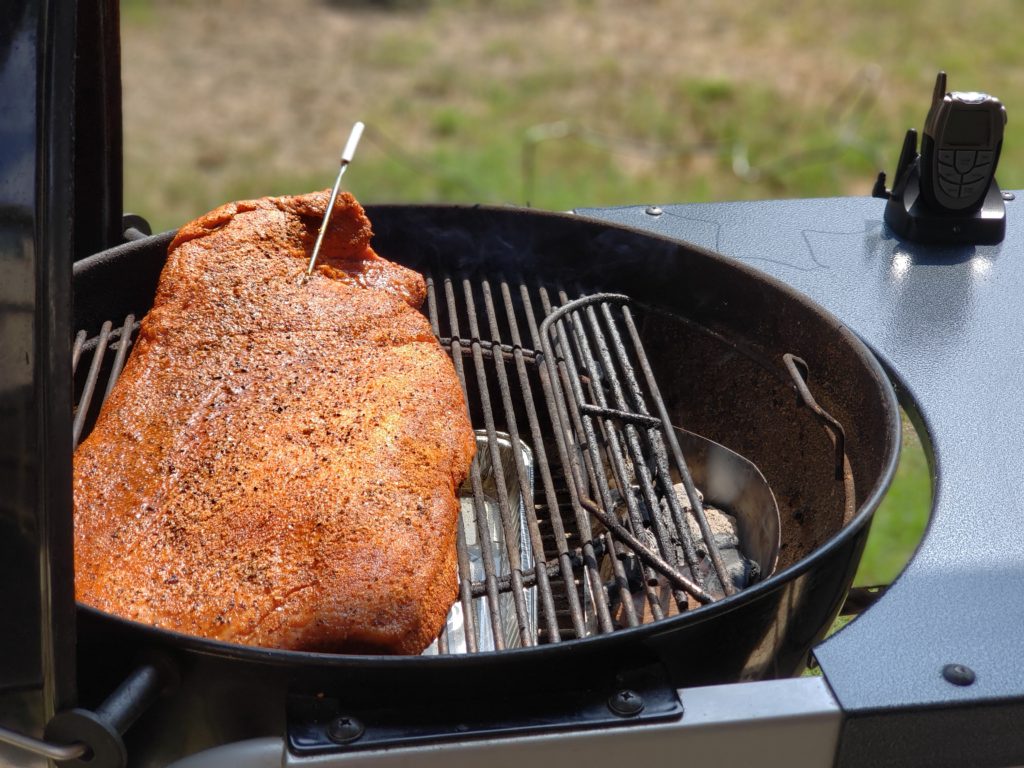
Your goal is to accomplish an internal temp of 160-165 degrees for your brisket. This will likely take several hours. It took me about 5.5 hours. I kept an eye of the grill temp using the thermometer built into the lid and only opened the lid wide enough to add more wood chunks to the fire when the temp started to drop.
Wrap it Up
What you’ll need:
Butcher paper or parchment paper
Freezer tape
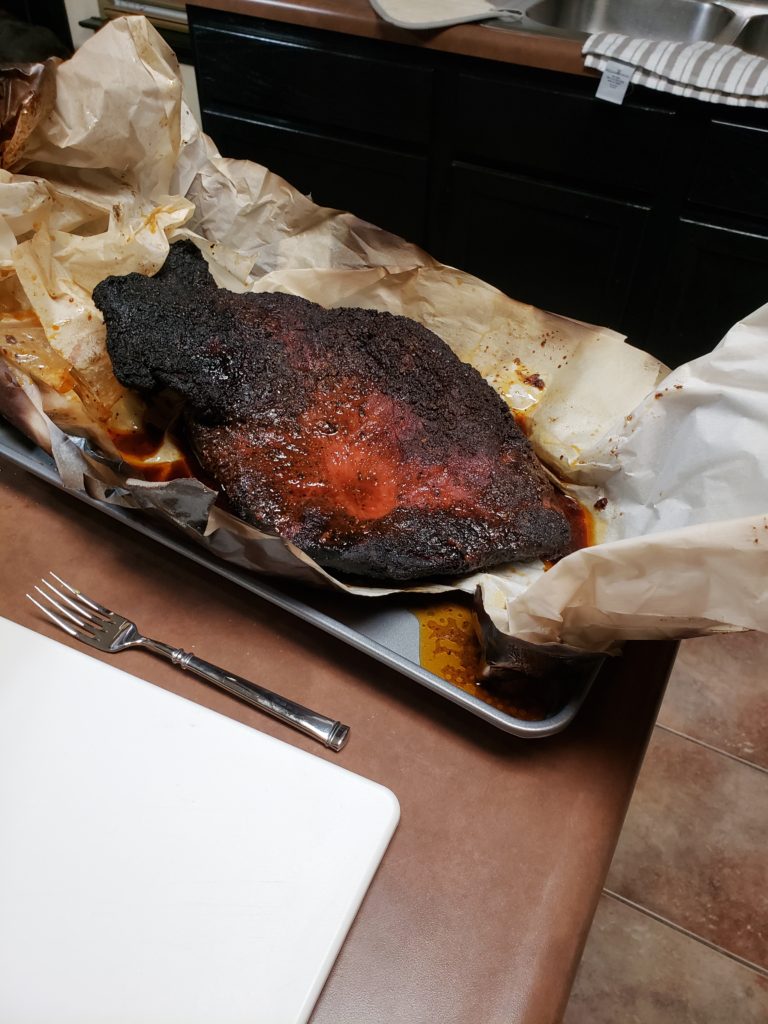
When you reach an internal brisket temp in the 160 range, it’s time to wrap the brisket. Wrap your brisket tightly, so that there are no slots where juice can escape, and tape it up so the paper will hold its shape. Then return to the grill, fat side still up. Insert your meat thermometer again through the paper. Now we’re looking for an internal temp of 200-205 degrees.

Brisket internal temp 160 – time to wrap
At this point I switched my fire cage out for a fresh one with a few pieces of charcoal for a quick start and mesquite chunks the rest of the way. Get the fire burning and smoking hot and replace the kettle lid. I used the built in thermometer on the kettle to track the overall heat of my fire, which I maintained at around 400 degrees for this portion of the project. When I saw the dial start to dip below 400 I’d open the lid just enough to add more mesquite chunks and get a little extra airflow.
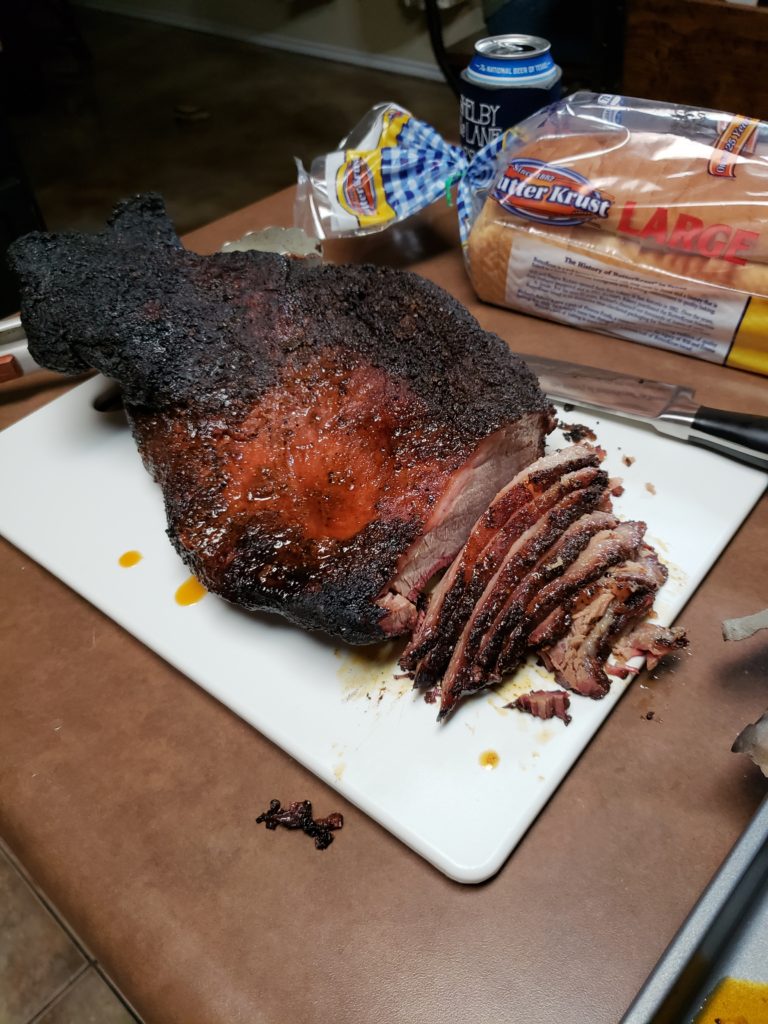
Let it Rest
Get your internal temp to 200 then removed that bad boy from the grill and place it in a pre-warmed ice chest or an oven on the lowest possible setting (150 degrees if possible) to rest for 1-2 hours. This is arguably the most important step and I’ve heard of people resting brisket for up to 4 hours. Read a little bit about why you should rest your brisket below, which I pulled from an email chain between my dad, brother and I from 2015:
“As the meat fibers begin to relax, moisture that was driven out is redistributed and reabsorbed by some of the dissolved proteins. Rested meat holds on to more of its natural juices—they don’t flood the cutting board when you slice into the meat. And since our perception of tenderness is greatly affected by moisture content—moist meat is softer and perceived as being more tender than dry meat—the result is more succulent, tender meat.”
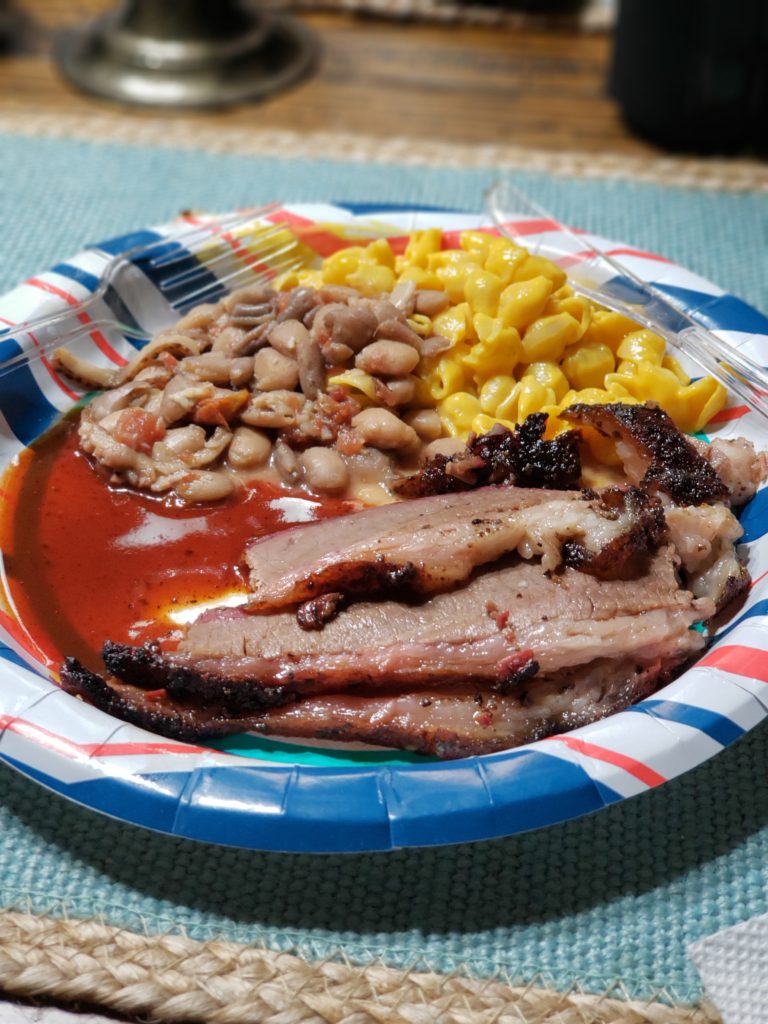
Additionally, only slice as much meat and you and your crowd intend to eat right away. Enjoy!